
Pruning
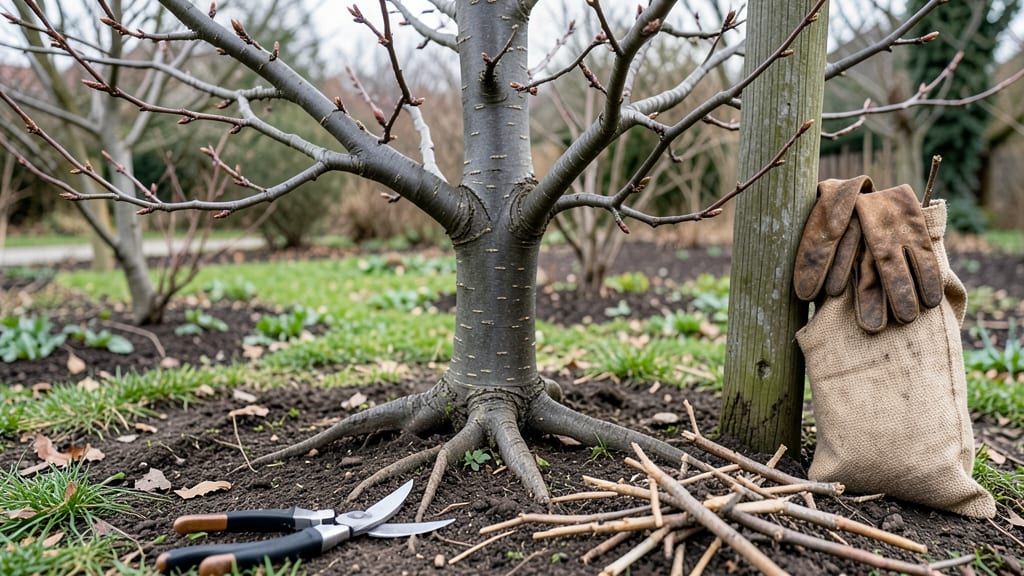
A single wrong cut can turn your cherry tree into a tangled mess. ✂️ Pruning cherry trees isn’t just about shaping—it’s about balancing growth, fruit production, and disease resistance.
I’ve pruned dozens, and the difference between a thriving tree and a struggling one often comes down to where and how you make those cuts.
The best time to prune is late winter or early spring, when the tree is still dormant but about to burst into new growth. You’ll need sharp pruners, loppers for thicker branches, and—most importantly—a clean workspace to prevent spreading disease. Skip the hedge trimmers; they tear wood and invite pests.
Start by removing dead, crossing, or diseased branches first—they’re the tree’s weak points. Then, thin out the canopy to let light reach the center, where fruit develops. Make cuts just outside the branch collar (that swollen area where the branch meets the trunk) to promote fast healing.
Here’s the kicker: sweet cherries need less aggressive pruning than sour varieties, and over-pruning in one year can backfire. But when done right, your tree will reward you with stronger branches, better airflow, and a harvest that puts store-bought cherries to shame.
📚 In This Guide
- What you need
- Instructions
- Tips and common mistakes
- Wrapping up and next steps
What you need
- ● Pruning shears (bypass or anvil type): Choose sharp, high-quality shears with a 1.5–2.5-inch blade for clean cuts. Bypass shears (💡 best for live wood) are ideal for most cherry trees.
- ● Loppers: For branches ½–2 inches in diameter, opt for bypass loppers with a 6–8-inch blade and a long handle for leverage.
- ● Pruning saw: For thicker branches (2+ inches), use a curved-tooth pruning saw to avoid tearing wood.
- ● Extension pole saw: For hard-to-reach branches, a 10–15-foot telescoping pole saw with a sharp blade is a game-changer.
- ● Gloves: Wear cut-resistant, heavy-duty gloves (e.g., mechanics’ or pruning gloves) to protect hands from thorns and sharp tools.
- ● Safety glasses: Protect your eyes from debris with ANSI-rated safety goggles.
- ● Ladder or step stool: Ensure stability with a stable, non-slip ladder (e.g., extension or platform ladder) or a 3–4-foot step stool for smaller trees.
- ● Disinfectant (70% isopropyl alcohol or bleach solution): Wipe tools between cuts to prevent bacterial/fungal spread (e.g., 1 part bleach : 9 parts water).
- ○ Pruning sealant (optional): For large cuts (>1 inch), use a tree wound sealant to reduce disease risk (💡 skip for small cuts—cherry trees heal best with open air).
- ● Heavy-duty trash bags: Collect pruned branches for composting or disposal.
- ● Marking twine or flags: Label branches to identify cuts (e.g., "remove" vs. "shape") if working with a team.
- ● First-aid kit: Include bandages, antiseptic wipes, and tweezers for minor injuries.
- ● Timing: Prune dormant cherry trees in late winter/early spring (before buds swell) or summer-bearing varieties immediately after harvest.
- ● Weather: Choose a dry, calm day (avoid wind or rain to prevent sap spread or tool rust).
- ● Tree health check: Inspect the tree for disease (e.g., silver leaf fungus) or pests before cutting. Treat issues first if present.
- ● Safety briefing: Ensure no power lines are nearby and inform others of your work area.
Step-by-Step instructions for pruning a cherry tree
Precision pruning keeps your cherry tree thriving—here's how to cut for strength and fruitfulness.
✂️ Step 1: Prepare Your Tools and Safety Gear
Start with clean, sharp tools to prevent jagged cuts that invite disease. I use bypass pruners for branches under ½ inch thick and a pruning saw for anything larger. Sterilize blades with rubbing alcohol between cuts to avoid spreading bacterial canker, a common cherry tree threat. Wear gloves—those thorns pack a punch!
Check the weather too. Prune on a dry, cloudy day to reduce stress on the tree. Wet conditions can spread fungal spores through fresh cuts. I always work early in the season, just as buds swell but before leaves emerge—this timing minimizes sap loss and promotes vigorous growth.
🌿 Step 2: Identify and Remove Dead or Diseased Branches
Scan the tree for deadwood—branches with no leaves, dry bark, or hollow centers. These are your first targets. Cut back to the collateral bud (a side bud growing at a 45-degree angle) just outside the branch collar (that swollen area where the branch meets the trunk). Never leave stubs—they rot and attract pests.
Look for suckers (vigorous shoots growing from the base) and water sprouts (vertical shoots with no branches). These compete with fruit production. Remove them entirely at the base. I use a sharp knife for these close-to-the-ground cuts, cleaning the blade between each to prevent cross-contamination.
☀️ Step 3: Thin the Canopy for Light Penetration
Cherry trees need sunlight to ripen fruit, so aim for a balanced, open center. Remove branches that cross or rub against others—these create wounds and weak wood. Start at the outer edges and work inward, cutting back to a healthy lateral branch or the trunk if no laterals exist.
Watch for dominant vertical shoots growing straight up. These often bear poor-quality fruit. Thin these out to encourage horizontal branches that produce heavier crops. I like to leave 3-4 main scaffold branches spaced evenly around the trunk, each with its own well-defined leader.
⏰ Step 4: Shape for Future Growth and Fruit Production
Step back and visualize the tree's natural growth pattern. Cherry trees respond well to an open-center form, where the center remains open to light. Remove any branches growing inward at less than a 45-degree angle to the trunk—they'll never get enough light and may die back.
For fruit-bearing branches, I focus on last year's wood—these produce the best cherries. Avoid cutting back into old wood unless absolutely necessary, as it takes years to regenerate. After shaping, clean up all debris and dispose of diseased branches far from the tree to prevent reinfection.
🪴 Step 5: Clean Up and Monitor Recovery
Rake up all fallen leaves and small branches to reduce disease risk. Seal larger pruning wounds with pruning sealant only if the cut is larger than ½ inch—smaller cuts heal better on their own. I make a point to water deeply after pruning to help the tree recover, especially if we've had a dry spell.
Watch the tree closely for the first 2-3 weeks. Healthy new growth should appear within 4-6 weeks if the cuts were made correctly. If you see oozing sap or unusual wilting, it might signal stress or disease—adjust your approach next time. With proper pruning, your cherry tree will reward you with stronger structure and better fruit for years.
Tips & tricks for healthy cherry tree pruning
Here's what I've learned after years of pruning cherry trees—these details make all the difference between a stressed tree and one that thrives.
Tool Selection: The right tools prevent damage and disease. For branches thicker than ½ inch, a pruning saw is essential—don't use loppers or hand pruners here. I've ruined cuts trying to force small tools on thick branches, which creates jagged wounds that invite bacterial canker. And always sterilize between cuts—rubbing alcohol works perfectly, but a 10% bleach solution (1 part bleach to 9 parts water) is even more effective for heavy disease pressure.
Seasonal Timing: The early spring timing in Step 1—just as buds swell—is critical for two reasons. First, it minimizes sap loss, which can stress the tree. Second, it allows you to see the tree's structure before new leaves obscure your view. I've made the mistake of pruning too late and had to repeat the process the following year. Watch for those tight, swollen buds—they're your signal to start.
Cutting Technique: When removing branches in Step 2, make your cut just outside the branch collar at a 45-degree angle. This angled cut helps water bead off rather than pool in the wound. I've seen many gardeners leave stubs or cut flush with the trunk, both of which lead to rot. For larger branches, use the three-cut method: undercut first, then top cut, and finally clean up the stub. This prevents tearing the bark.
Recovery Monitoring: The 2-3 week observation period in Step 5 is where most pruning mistakes reveal themselves. Healthy new growth should appear within 4-6 weeks, but if you see excessive sap oozing or leaves wilting, your cuts may have been too severe. In my experience, trees pruned correctly show new buds within 2 weeks—this is your green light that everything's on track. Keep a small notebook to track these details year after year.
Pro Tips for Cherry Tree Cut
- Here's what I've learned after years of pruning cherry trees—these details make all the difference between a stressed tree and one that thrives.
- Tool Selection: The right tools prevent damage and disease.
- Seasonal Timing: The early spring timing in Step 1—just as buds swell—is critical for two reasons.
Frequently asked questions
Got questions about cutting back your cherry tree? You’re not alone! Here are answers to the most common concerns—whether you're a first-time pruner or just need a quick refresher.
When is the best time to prune a cherry tree?
The ideal time depends on your tree’s type. For sweet cherry trees, prune in late winter or early spring (before buds break) to prevent silver leaf disease. Tart cherry trees can handle pruning in late winter or summer. Avoid heavy pruning in fall, as wounds may not heal before winter.
How do I know if I’m cutting too much off?
Follow the “one-third rule”: Never remove more than 1/3 of the tree’s canopy in a single year. Over-pruning stresses the tree, weakens growth, and invites pests. If your tree looks sparse or has large wounds (bigger than ½ inch), you’ve likely gone too far. Light, strategic cuts are better!
Can I prune a cherry tree in summer?
Yes, but with caution! Summer pruning is best for tart cherries or to shape the tree mid-season. Avoid heavy cuts—focus on removing suckers, water sprouts, or crossing branches. Prune in early summer (June) to minimize disease risk. Sweet cherries should never be pruned in summer due to silver leaf fungus risks.
What if my cuts bleed or ooze?
This is normal! Cherry trees bleed sap when cut in late winter/early spring. It won’t harm the tree, but to reduce mess, prune on dry, cool days (not warm ones). Seal large wounds (>½ inch) with pruning sealant to prevent disease. Small cuts (like thinning cuts) don’t need sealing—they heal faster naturally.
Are there alternatives to traditional pruning?
If you’re hesitant about cutting, try selective thinning or crown lifting to improve airflow. For young trees, topping (cutting the top flat) is a last resort—it encourages weak growth. Instead, focus on removing dead wood, crossing branches, and shaping naturally. For heavy damage, consult an arborist to avoid long-term harm.
Wrapping up and next steps
Pruning your cherry tree with precision isn’t just about shaping—it’s about inviting healthier growth, better fruit production, and long-term vitality. 🌿 Whether you’re tackling young branches or mature limbs, the right cuts and timing make all the difference. Remember: patience and sharp tools are your best allies!
Ready to give your cherry tree the care it deserves? Start small—pick a sunny day, gather your tools, and take that first confident cut. And if you’re still unsure, revisit our FAQs or consult a local arborist for personalized advice. Your tree (and future harvests!) will thank you!