
Pruning
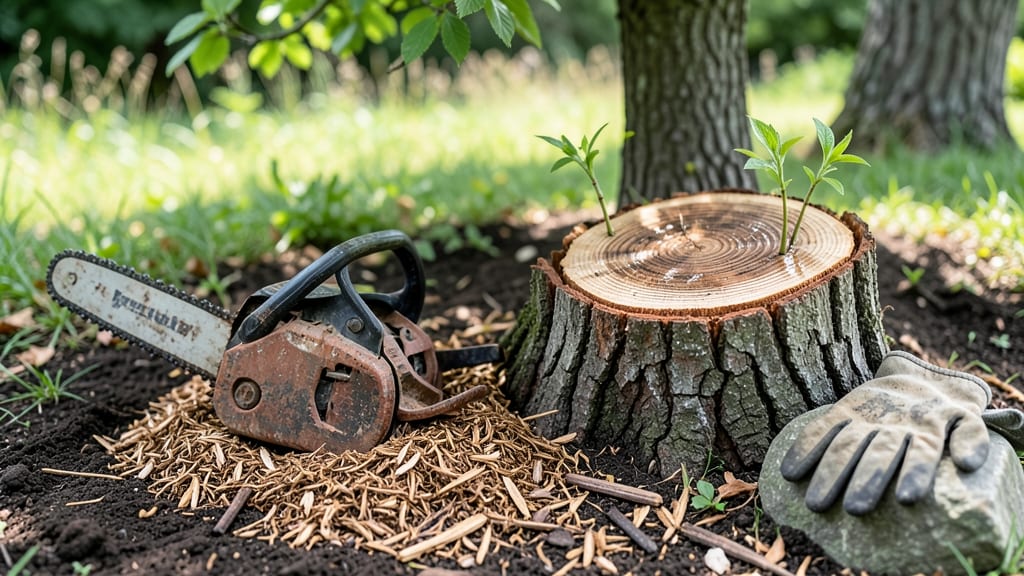
Removing a cherry tree stump feels like conquering a stubborn garden nemesis—until you learn the right grinding technique. ✨ The secret isn’t brute force but precision: a clean cut prevents regrowth, fungal spread, and even attracts pests like carpenter ants.
I’ve ground dozens of stumps, and this method leaves your yard cleaner than a fresh spring planting.
You’ll need a stump grinder (rental costs around $100/day), safety gear (gloves, goggles, ear protection), and a wheelbarrow for debris. The key is grinding below the root collar—any leftover wood means regrowth or future rot.
Cherry trees, with their dense wood, resist grinding, so patience and steady pressure win the battle every time.
What you end up with is a flat, mulch-ready surface—no more tripping hazards or eyesores. The leftover wood chips make free mulch for flower beds or pathways, and the process takes under an hour for most stumps.
Just avoid grinding near fences or power lines, and always check for buried roots first.
This method works for any hardwood stump, not just cherry, and the same principles apply whether you’re clearing space for a new garden bed or a patio. The only real mistake? Skipping the final check for hidden roots—trust me, I’ve learned that the hard way.
📚 In This Guide
- What you need
- Instructions
- Tips and common mistakes
- Wrapping up and next steps
What you need
- ● Stump Grinder: Rent or purchase a commercial-grade stump grinder (10+ HP engine, 3–5 HP cutting head). Look for models with adjustable depth and safety guards.
- ● Safety Gear: Heavy-duty work gloves (cut-resistant, like Mechanix or Klegecell)
- ● Safety goggles (ANSI Z87.1 rated)
- ● Ear protection (30+ dB noise reduction)
- ● Dust mask/respirator (NIOSH-approved for wood dust)
- ● Steel-toe boots or work shoes
- ● Measuring Tape: 25-foot tape for assessing stump size and grinder blade clearance.
- ○ Shovel or Mattock: For clearing debris around the stump (optional but helpful for stubborn roots).
- ● Wood Chips: Collect or designate a space for disposal (or repurpose for mulch!).
- ● Lubricant: Heavy-duty chain oil (for grinders with chainsaws) or grinder-specific grease (check manual).
- ● Fuel: Unleaded gasoline (for gas-powered grinders) + stabilizer if storing the grinder.
- ● Extension Cord: 100-foot heavy-duty outdoor cord (14-gauge or thicker) if using an electric grinder.
- ● Clear the Area: Remove rocks, roots, or debris within a 3-foot radius of the stump.
- ● Check for Obstacles: Locate underground utilities (call 811 in the U.S. if unsure) or buried roots.
- ● Weather Check: Avoid grinding in wet conditions (slip hazard) or extreme heat (overheating risk).
- ● Neighbor Notification: Give a heads-up if grinding near property lines or shared spaces.
Step-by-Step instructions for removing a cherry tree stump
Here’s how I grind down stumps cleanly—no messy digging, no stubborn regrowth.
🪴 Step 1: Assess the Stump and Gather Safety Gear
Start by examining the stump closely. Cherry wood is dense, so you’ll need to account for its hardness—expect more resistance than softer species. Measure the diameter at its widest point to determine the right blade size for your grinder. I always wear heavy-duty gloves, safety goggles, and long sleeves to protect against flying debris and sap.
Clear a 3-foot radius around the stump of rocks, roots, or loose soil. This gives you safe maneuvering room for the grinder. If the stump is near power lines or buried utilities, call 811 at least 48 hours before starting—cherry trees often grow near underground pipes, and you don’t want to hit anything unexpected.
✂️ Step 2: Rent or Prepare the Right Grinder
For a 6-12 inch diameter cherry stump, a 14-inch or 16-inch stump grinder blade works best. If your stump is larger, you’ll need a commercial-grade machine or multiple passes. I prefer electric grinders for smaller jobs—they’re quieter and easier to control, but gas-powered models handle tougher cherry wood better if the stump is deeply rooted.
Check the blade for sharpness before starting. A dull blade will tear wood fibers instead of cleanly grinding, leaving jagged edges that regrow faster. If the blade isn’t sharp, sharpen it or replace it—this is the difference between a smooth finish and a frustrating cleanup. Also, ensure the grinder has a grounding wire connected to prevent electrical hazards.
💧 Step 3: Grind the Stump in Concentric Circles
Begin grinding at the outer edge of the stump, working your way inward in slow, overlapping circles. This prevents the blade from getting stuck in the center where wood is densest. For cherry trees, I lower the grinder blade to 1-2 inches deep per pass—deeper cuts risk overheating the blade and binding the machine.
Watch for root flares hidden beneath the soil. Cherry trees often send out thick lateral roots that can trip you up if you’re not careful. Pause frequently to clear debris from the grinding area—wet wood clogs blades faster, and cherry sap is particularly sticky. Keep a hose nearby to spray down the blade every 5-10 minutes to reduce heat buildup.
🌱 Step 4: Finish Below Ground Level and Check for Regrowth
Once the stump is ground to 2-3 inches below soil level, switch to a handheld reciprocating saw to trim any remaining roots or stubborn wood fragments. This is where most people stop—but cherry trees are notorious for sprouting new shoots from buried roots if you leave even a small piece behind. I always dig down 4-6 inches around the perimeter with a shovel to expose hidden roots.
Fill the hole with fast-acting wood ash or rock salt (about 1 pound per square foot) to prevent regrowth. Water the area thoroughly afterward—this helps the salt or ash work deeper into the soil. Mark the spot with a stake or flag so you remember where the roots lie, especially if you plan to plant something new there later.
🪴 Step 5: Clean Up and Repurpose the Wood
Collect the wood chips from grinding—cherry wood makes excellent mulch or firewood once dried. Spread them around non-edible plants like ornamentals or shrubs, but never use them near vegetable gardens, as untreated wood chips can harbor pathogens. I also save larger chunks to use as garden edging or pathway borders—their natural color adds a rustic touch.
Finally, fill the grinding hole with compost or topsoil and tamp it down firmly. If you’re planting something new, wait 2-3 weeks to let the soil settle—cherry roots release tannins that can stunt young plants. This is the moment to celebrate: no more tripping hazard, no more regrowth headaches, just clean soil ready for your next project.
Tips & tricks for perfect cherry stump removal
Real talk: Cherry stumps are stubborn. Here’s how I’ve learned to handle them like a pro—no regrowth, no second-guessing.
Equipment Prep: Before you even start grinding, test your blade’s sharpness by running it across a piece of scrap wood. A sharp blade on a cherry stump makes all the difference—it cuts cleanly instead of tearing, which means less cleanup and fewer jagged edges that could sprout new growth. If your blade isn’t sharp enough, sharpen it or replace it. I’ve wasted hours trying to force a dull blade through dense cherry wood, and it’s not worth the frustration.
Root Flare Awareness: In Step 3, when you’re grinding those concentric circles, pay extra attention to the base of the stump where it meets the soil. Cherry trees often have hidden root flares—thick, horizontal roots that can extend 2-3 feet outward. I’ve seen people miss these and end up with stubborn regrowth months later. Use a shovel to gently probe the soil around the stump’s perimeter before you start grinding. If you hit resistance, you’ve found a flare—mark it with spray paint so you can target it later with your reciprocating saw.
Heat Management: Cherry sap sticks to blades like glue, and when combined with the friction of grinding, it creates heat that can damage your equipment. That’s why I keep a hose nearby and spray down the blade every 5-10 minutes as instructed. But here’s the thing: don’t just spray water—aim for a steady stream that cools the blade and washes away debris. I’ve seen grinders overheat and stall because people only gave it a quick rinse. Pro tip: If you notice smoke or a burning smell, stop immediately and let the blade cool completely before continuing.
Regrowth Prevention: The 48-hour rule for calling 811 before digging is non-negotiable, but here’s what nobody tells you about Step 4: rock salt works faster than wood ash for stopping regrowth, but it can kill nearby plants if it leaches into the soil. I always contain it by digging a shallow trench around the treated area and filling it with compost afterward. For wood ash, spread it evenly and water it in thoroughly—uneven application can leave gaps where roots might still sprout. And that stake or flag? Use a bright one. I’ve lost track of treated areas before and accidentally planted right over them.
Pro Tips for Cherry Tree Stump
- Real talk: Cherry stumps are stubborn. Here’s how I’ve learned to handle them like a pro—no regrowth, no second-guess...
- Equipment Prep: Before you even start grinding, test your blade’s sharpness by running it across a piece of scrap woo...
- Root Flare Awareness: In Step 3, when you’re grinding those concentric circles, pay extra attention to the base of th...
Frequently asked questions
Got questions about tackling that stubborn cherry tree stump?
Here are some of the most common concerns—plus clear, actionable answers to help you grind through the details like a pro.
How long does it take to grind a cherry tree stump?
Grinding time depends on the stump’s size and your equipment. A small cherry tree stump (6–12 inches in diameter) takes 10–30 minutes with a rental grinder, while larger stumps (12+ inches) may require 30–60 minutes or more. Pro tip: Start with a shallow cut to reduce grinding time and avoid overheating the blade.
When is the best time of year to remove a cherry tree stump?
The ideal window is late fall or winter (November–March) when the ground is frozen but not snow-covered. This prevents soil erosion and makes the stump easier to access. Avoid spring—wet soil can gum up your grinder, and sap from cherry trees is at its peak, making cleanup messier.
Is it cheaper to grind or dig out a cherry tree stump?
Grinding is almost always the budget-friendly winner. Renting a stump grinder costs $75–$150/day, while hiring a pro runs $100–$300 for the job. Digging it out manually? Factor in shovel rental ($20–$40), disposal fees ($50–$150), and potential root regrowth—grinding saves time, money, and headaches.
Can I plant something in the hole after grinding a cherry tree stump?
The hole left behind is perfect for new plants—just fill it with topsoil and compost. Cherry trees have shallow roots, so the space is ideal for shrubs, perennials, or even a small fruit tree. Avoid planting directly over the old root zone if the stump was diseased, but otherwise, go for it!
What do I do if the grinder keeps getting stuck on the cherry tree stump?
If your grinder bogs down, stop immediately to avoid damage. Try these fixes:
- Adjust the depth: Lower the grinder gradually to avoid jamming.
- Check the teeth: Dull or missing teeth reduce efficiency—sharpen or replace them.
- Cool the blade: Overheating can warp metal; pause every 5–10 minutes to let it air out.
- Use a mallet: Gently tap stubborn spots to loosen debris before grinding.
Are there any safety risks specific to cherry tree stump grinding?
Cherry trees can harbor borers or fungal diseases in their stumps, so wear gloves, goggles, and a dust mask. Additionally:
- Watch for sap splatter—cherry sap is sticky and can damage tools or skin.
- Avoid grinding near power lines or gas lines if the stump is close.
- Secure the area to prevent bystanders from wandering into the work zone.
When in doubt, pause and reassess—safety first!
Wrapping up and next steps
Transforming a stubborn cherry tree stump into a clean, usable space doesn’t have to be a daunting task—with the right tools and techniques, you can achieve a flawless finish every time! 🌳✨ Whether you’re grinding, digging, or regrowing, this guide has equipped you with the knowledge to tackle the job safely and efficiently.
Now’s your chance to reclaim that yard space with confidence!
Ready to take the next step? Grab your gear, follow the steps, and enjoy your freshly cleared area! For extra inspiration, check out before-and-after stump removal projects to see the magic in action.