
Pruning
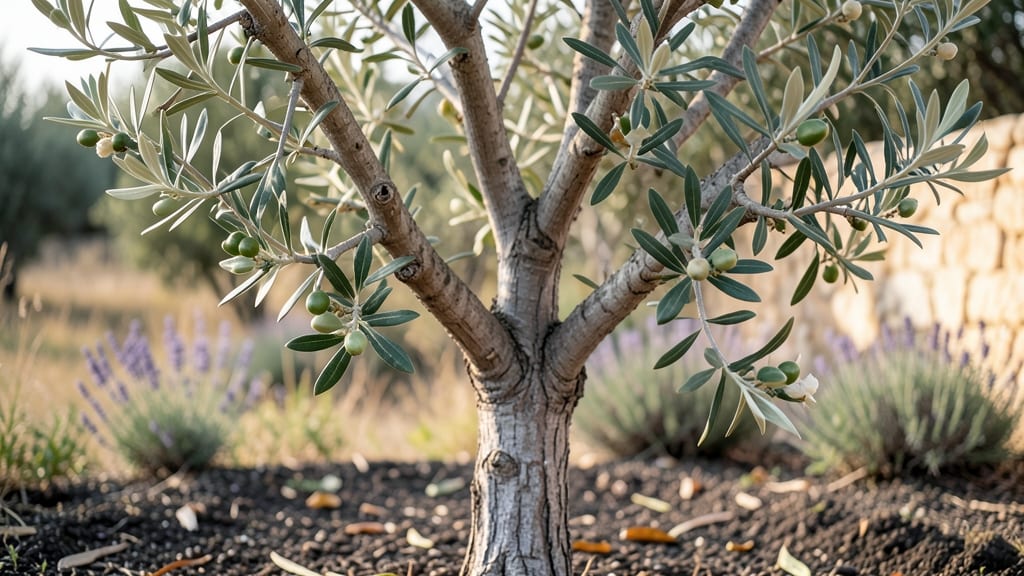
Budding an olive tree 🫒 is how you multiply your grove with precision, ensuring stronger roots and faster fruit production—but timing, tools, and technique make all the difference.
Picture this: You’ve spent years nurturing a single olive tree, only to watch it struggle with disease or weak growth. Budding lets you combine the best traits of multiple trees in one, but one wrong cut can ruin months of work.
That’s why late spring to early summer is the magic window, when the tree’s sap flows just enough to seal the graft without overwhelming it.
In this guide, I’ll walk you through the exact steps for whip-and-tongue or chip budding—from sharpening your knife to wrapping the graft like a pro—plus the three biggest mistakes that kill bud unions before they even take.
By the end, you’ll know how to spot a healthy scion, troubleshoot failed grafts, and keep your new olive tree thriving long after the budding season ends.
Step-by-step olive tree budding techniques for beginners
Budding olive trees is a rewarding way to propagate new varieties while preserving the rootstock’s hardiness. Two beginner-friendly methods—T-budding and whip-and-tongue grafting—work exceptionally well for olive trees.
The key to success lies in precise timing, sharp tools, and understanding the cambium layer, the tree’s growth tissue that must align perfectly for the graft to take. Let’s dive into these techniques step by step, so you can confidently create strong, healthy unions.
Timing is everything when it comes to olive tree budding. Aim to complete your grafts between late spring and early summer, when the rootstock is actively growing but hasn’t yet hardened off for dormancy.
This window—typically May to June in most Mediterranean climates—gives the graft the best chance to establish before winter. Avoid budding during extreme heat or drought, as stress can weaken the union and reduce success rates.
Step-by-Step Olive Tree Budding Guide
-
Step 1: Gather Your Tools
- Budding knife (sharp and clean)
- Grafting tape or rubber budding strips
- Pruning shears (sterilized)
- Rootstock (1-2 year old olive sapling, ¼ inch in diameter)
- Scion wood (healthy, pencil-thick shoots from a mature olive tree)
-
Step 2: Prepare the Rootstock
- Select a healthy rootstock with smooth bark and no signs of disease.
- Make a T-shaped cut (for T-budding) or a slanted cut (for whip-and-tongue) on the rootstock, exposing the cambium layer.
- Ensure the cut is 1-2 inches long and clean to prevent tearing.
-
Step 3: Select and Prepare the Scion
- Choose a mature scion (1-year-old wood) with 3-4 buds.
- Make a clean, angled cut just below a bud for T-budding or a tongue-shaped notch for whip-and-tongue.
- Remove excess leaves to reduce moisture loss.
-
Step 4: Align the Cambium Layers
- For T-budding, slide the scion bud into the T-cut so the cambium layers match.
- For whip-and-tongue, interlock the tongue-shaped cuts and press firmly.
- Ensure the union is snug but not crushed.
-
Step 5: Secure the Graft
- Wrap the graft tightly with grafting tape or rubber strips.
- Leave the top bud exposed to allow growth.
- Seal the wrap with pruning sealant to prevent moisture loss.
-
Step 6: Post-Budding Care
- Place the grafted tree in partial shade for 2-3 weeks to reduce stress.
- Water lightly but consistently to keep the soil moist.
- Monitor for signs of graft take (new growth from the bud in 4-6 weeks).
When making your cuts, precision is non-negotiable. Use a sharp budding knife to avoid tearing the bark or cambium layer, which can introduce pathogens and weaken the graft.
For T-budding, the T-cut should be deep enough to create a pocket for the scion bud, while the whip-and-tongue method requires a slightly more complex cut to interlock the scion and rootstock.
Practice on scrap wood first to get comfortable with the technique—your confidence will translate to better results in the garden.
One of the most critical steps is aligning the cambium layers of the scion and rootstock. This green, inner layer is where the tree’s growth occurs, and when properly matched, it allows nutrients and water to flow between the two parts.
If the cambium doesn’t align, the graft will fail to heal. Take your time here—gently press the scion into place until you feel resistance, indicating a secure fit. A magnifying glass can help if your eyes aren’t as sharp as they used to be!
After securing the graft, don’t forget the importance of post-budding care. Place your newly grafted olive tree in a shaded, humid environment for the first few weeks to reduce stress. This could be under a cloche or even a simple plastic bag tied loosely around the graft.
Water lightly but consistently, keeping the soil moist but not waterlogged. Overwatering can lead to rot, while underwatering stresses the graft and slows healing. Aim for a balance—think of it like Goldilocks: not too much, not too little, but just right.
Success isn’t guaranteed on the first try, and even experienced gardeners face setbacks. If your first few grafts don’t take, don’t be discouraged. Learn from each attempt—was the cambium misaligned? Did you bud at the wrong time?
Adjust your technique and try again. With practice, you’ll develop an eye for what works and what doesn’t. Remember, olive trees are resilient, and a well-executed graft can thrive for decades, producing fruit and beauty for generations.
Once your graft takes—visible when the bud swells and new growth emerges—you’ll know you’ve done it right. At this stage, gradually acclimate the tree to full sun over 1-2 weeks to avoid shocking the new growth.
Remove any competing shoots from the rootstock to direct the tree’s energy toward the scion. With patience and care, your budded olive tree will reward you with lush foliage, strong growth, and—if you’re lucky—delicious olives in just a few years.
🌱
How to choose the best olive tree scions and rootstock for budding
Selecting the right scion and rootstock is just as critical as the budding technique itself. A poor match can lead to weak unions, disease susceptibility, or even complete graft failure. The scion determines your olive tree’s fruit quality, while the rootstock provides the foundation for disease resistance and growth vigor.
For example, pairing a dwarf rootstock with a high-yield scion like Arbequina creates a compact tree perfect for small gardens, whereas a standard rootstock with Frantoio yields robust, disease-resistant trees for larger orchards.
When choosing scion wood, prioritize mature, disease-free branches from last year’s growth. Look for pencil-thick shoots with 3-4 buds and smooth, green bark—avoid branches with cracks, oozing sap, or fungal spots, as these can introduce bacterial contamination to your graft.
Store scions in a cool, humid environment (like a plastic bag with damp paper towels) until ready to use, as dehydration weakens the cambium layer.
Rootstock selection hinges on your garden’s climate and tree’s purpose. In humid climates, opt for rootstocks with Verticillium wilt resistance, like 'Bethlehem' or 'Seville', while drought-prone areas benefit from 'Manzanillo' or 'Frantoio' rootstocks, which thrive with minimal water.
For container growing, dwarf rootstocks (like 'Arbequina') keep trees manageable, while standard rootstocks produce larger, more productive trees for open landscapes.
One common pitfall is using immature scions or rootstocks with weak cambium layers. Always verify the rootstock’s diameter matches the scion—aim for ¼ to ½ inch for optimal compatibility. Test the bark’s flexibility: it should bend slightly without snapping.
If the rootstock feels woody or the scion is overly fibrous, discard it and select fresher material. Another red flag is oozing sap or blackened bark, which signals fungal or bacterial infections that can spread to your entire graft.
Pro tip: If you’re budding multiple varieties, label your scions immediately with waterproof tape to avoid mix-ups. Store them upright in a cool, dark place (like a refrigerator) until use—this preserves moisture and prevents desiccation.
When ready to bud, trim the scion just ½ inch above a bud to ensure clean cambium exposure. With the right scion-rootstock combo, your graft’s success rate can soar from 50% to 90%, turning budding from a gamble into a reliable propagation method.
🌿