
Pruning
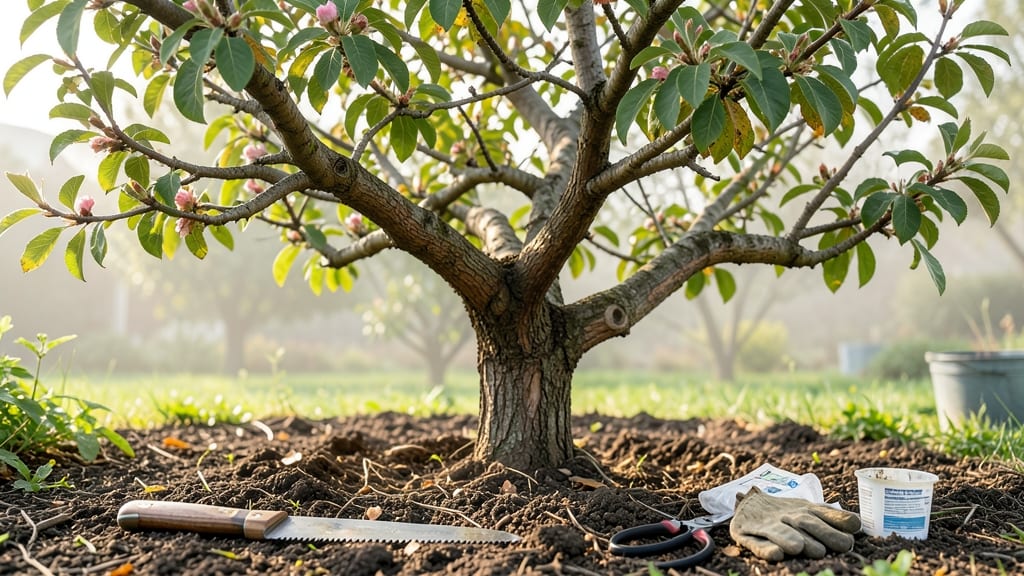
The right tree branches cutter makes all the difference between a messy hack job and a clean, healing cut. ✂️ I’ve ruined more branches than I’d like to admit with dull tools—until I learned the difference between bypass pruners, loppers, and pruning saws.
The right tool doesn’t just save time; it saves your tree from unnecessary stress or disease. Start with the right tool for the job: bypass pruners for branches under ½ inch, loppers for ½ to 2 inches, and a pruning saw for anything thicker.
Sharp blades cut cleanly, reducing tear in the bark where pests and diseases love to hide. A dull cutter crushes the branch, slowing recovery and inviting rot. Once you’ve got the right tool, the cut itself matters.
Aim for a 45-degree angle just outside the branch collar (that swollen area where the branch meets the trunk). Never cut flush—it exposes the tree to decay. A proper cut heals faster, and your tree will thank you with stronger growth.
This isn’t just about looks; it’s about long-term health. Skimp on the right tool or technique, and you’ll pay for it in dead branches, weak regrowth, or even lost trees. Let’s get those cuts right the first time.
📚 In This Guide
- What you need
- Instructions
- Tips and common mistakes
- Wrapping up and next steps
What you need
- ● Tree Branches Cutter: Hand pruners (bypass or anvil type) – for small branches (up to ½ inch thick)
- ● Lopping shears – for medium branches (½ inch to 2 inches thick)
- ● Pole saw – for high or thick branches (2+ inches thick, extendable 8–12 ft)
- ● Chainsaw – for large branches (3+ inches thick), with a 14–18-inch bar for versatility
- ● Safety Gear: Safety glasses (ANSI Z87.1 rated) – 1 pair
- ● Heavy-duty gloves (cut-resistant, like leather or Kevlar) – 1 pair
- ● Ear protection (earplugs or earmuffs) – 1 pair (if using a chainsaw)
- ● Steel-toe or composite-toe boots – 1 pair
- ● Long sleeves and pants (avoid loose fabric) – 1 set
- ● Cutting & Cleanup Supplies: Sharp pruning saw (if needed for stubborn branches) – 1
- ○ Rope or extension pole (for securing branches) – 1 (optional but helpful)
- ● Heavy-duty trash bags or a wheelbarrow – for debris removal
- ○ Pruning sealant (optional) – for sealing large cuts on trees
- ● Check the weather – avoid pruning in wet, windy, or stormy conditions.
- ● Inspect your tools – sharpen blades, check for damage, and ensure proper lubrication.
- ● Clear the work area – remove obstacles, pets, and bystanders within a 30-foot radius.
- ● Have a first-aid kit handy – just in case!
How to use a tree branches cutter for safe, clean trimming
Here's the simple method I rely on for every tree pruning job—no guesswork, just sharp cuts every time.
🪴 Step 1: Choose the Right Cutter for Your Branch Size
Start by matching your cutter to the branch thickness. For branches up to 2 inches thick, a bypass pruner gives the cleanest cut with minimal damage to the branch collar. If you're tackling 2-4 inch branches, switch to loppers with long handles for leverage. Remember, the blade should close completely around the branch—if it doesn't, you'll struggle or damage the tool.
I always check the blade sharpness first. A dull cutter crushes instead of cuts, which splits the bark and invites disease. Run your thumb along the blade edge—it should feel smooth, not jagged. If it's dull, sharpen it before starting. Most loppers come with a file, but for serious pruning, I take mine to a hardware store for professional sharpening once a season.
✂️ Step 2: Make the First Cut at the Branch Collar
Locate the branch collar, that swollen area where the branch meets the trunk. This is your target—cutting here ensures the branch heals properly. Make your first cut about 1/4 inch away from the trunk, angling the blade slightly upward to create a flat surface. This undercut prevents the branch from tearing as you remove it.
Watch for the branch bark ridge—that raised line where the branch meets the trunk. Your cut should follow this natural contour. If you're unsure, trace the ridge with your finger first. The goal is to remove the branch cleanly without leaving a stub. I like to mark my cut line with a piece of masking tape before making the first incision—it keeps me consistent.
🌿 Step 3: Complete the Cut Away From the Trunk
Now step back and make your second cut, this time removing the branch entirely. Angle the cutter downward, just outside the first cut, to create a smooth, sloping cut that follows the branch's natural taper. This second cut should be about 1/8 inch away from the trunk—close enough to remove the branch but far enough to avoid damaging the trunk's bark.
Here's the thing—if the branch is thick, you might need a third cut. Make a horizontal cut about 6-12 inches out on the branch, then pull the remaining section away. This prevents tearing. I've seen too many pruning jobs where people yank branches off, leaving ragged wounds that take years to heal. Take your time with this step—it's worth it for a clean finish.
💧 Step 4: Clean and Store Your Tools
After trimming, wipe down your cutter blades with a damp cloth to remove sap and debris. A little mineral oil applied to the blades keeps them rust-free and extends their life. I store my pruners with the blades open and hanging—this prevents them from closing on anything in the toolbox and keeps them ready for the next job.
Don't forget to disinfect your tools between trees, especially if you're pruning for disease control. A 10% bleach solution (1 part bleach to 9 parts water) works well, but rinse thoroughly afterward. I keep a small spray bottle of this solution in my toolbox for quick cleanups in the field. Proper tool care means fewer trips to the hardware store and longer-lasting equipment.
☀️ Step 5: Monitor the Tree's Healing Process
After pruning, keep an eye on the cuts for a few weeks. A properly made cut should seal over with calloused tissue within 2-4 weeks. If you see oozing sap or fungus growing on the wound, it's a sign the cut was too close to the trunk or the tool was dirty. In that case, make a new cut just outside the damaged area.
Real talk: Over-pruning weakens trees. Never remove more than 25% of a tree's canopy in one season. If you're unsure, take a photo of the tree before you start—it helps you visualize the final shape. I've learned that less aggressive pruning leads to healthier, more resilient trees in the long run. Step back often and admire your work—you're not just cutting branches, you're shaping the tree's future.
Tips & tricks for precision tree branch trimming
A few pro tips that'll transform your pruning from messy to masterful—every time.
Tool Selection Tip: For branches between 2-4 inches thick, loppers with a 10-inch handle give you the leverage needed to avoid muscle strain. I've found that folding loppers with a bypass blade are my go-to for thick branches—they cut cleaner than anvil-style cutters. Always test your tool's reach by holding it at arm's length before making the first cut. This prevents awkward stretches that can lead to sloppy cuts.
Cutting Technique: When making that 1/4-inch undercut in Step 2, visualize a shallow "V" shape pointing away from the trunk. This creates a natural stress point where the branch will separate cleanly. I use my finger to trace the branch bark ridge first—it's like following a roadmap. If you're working with a branch wider than your cutter's blade, make the first cut slightly off-center, then complete the second cut to remove the remaining portion.
Safety First: Never stand directly below a branch you're cutting—always work from a safe angle. I keep a small pruning saw in my toolbox for branches over 4 inches thick; these require a different approach where you make multiple cuts to control the branch's fall. Wearing gloves with a good grip also prevents slips, especially when working with wet or slippery branches. And always look up before making any cut—you'd be surprised how often people miss seeing power lines or other hazards.
Healing Insight: The 2-4 week healing window mentioned in Step 5 is when trees are most vulnerable to disease. If you notice oozing sap after pruning, it's a sign the cut was too aggressive. In that case, make a new cut just outside the damaged area to give the tree a fresh start. I've seen trees recover beautifully from proper cuts, but improper cuts can take years—or even kill the tree if severe enough.
Pro Tips for Tree Branches Cutter
- A few pro tips that'll transform your pruning from messy to masterful—every time.
- Tool Selection Tip: For branches between 2-4 inches thick, loppers with a 10-inch handle give you the leverage needed to avoid muscle strain.
- Cutting Technique: When making that 1/4-inch undercut in Step 2, visualize a shallow "V" shape pointing away from the trunk.
Frequently asked questions
Got questions about using a tree branches cutter? You’re not alone! Here are some of the most common queries—plus quick, practical answers to help you trim like a pro.
What’s the best time of year to prune tree branches?
The ideal time depends on your tree type! For most deciduous trees, late winter or early spring (before buds swell) is best. Evergreens can be pruned in early spring or late fall. Avoid pruning when the tree is stressed (e.g., during drought or extreme heat). Pro tip: Check local guidelines—some regions restrict pruning during nesting seasons ().
How do I safely remove large, heavy branches?
Never attempt to cut branches larger than 3–4 inches in diameter alone—use a tree branches cutter with a long handle or a pole saw for reach. For bigger branches, hire a professional. Always wear gloves, safety glasses, and secure the branch with ropes or a ladder brace before cutting. Warning: Never stand directly under a branch you’re trimming ().
Can I use a tree branches cutter for deadwood removal?
A tree branches cutter is perfect for deadwood—just ensure the blade is sharp to avoid splintering. Cut just outside the branch collar (the swollen area where the branch meets the trunk) for a clean heal. For large dead branches, consider a chainsaw or professional help to avoid damaging the tree ().
What’s the difference between a tree branches cutter and pruning shears?
Pruning shears are best for small branches (<1 inch thick) and intricate cuts, while a tree branches cutter handles thicker branches (1–3 inches) with more leverage. Loppers (a type of cutter) offer even more power for mid-sized branches. Choose based on branch size and your comfort level ().
Why is my tree branches cutter getting stuck or dull?
Dull blades or sticky cuts usually mean the tool needs sharpening or lubrication. Clean the blade after use and apply a light oil if rusted. For stubborn branches, use a sawing motion instead of forcing the cutter. If the blade bends or skips, stop immediately and inspect for damage ().
Bonus Tip: How do I dispose of pruned branches?
Check local regulations—some areas require chipping or hauling away branches over 4 feet long. For small debris, compost it (if disease-free) or use it as mulch. Large branches may need a professional service for removal ().
Wrapping up and next steps
Choosing the right tree branches cutter and mastering safe pruning techniques ensures your yard stays healthy, beautiful, and hazard-free. Whether you're tackling small branches with hand pruners or large limbs with a chainsaw, precision and care make all the difference.
Now that you’re armed with the knowledge, grab your tools and get ready to transform your outdoor space with confidence!
🌿 Pro Tip: Start with small projects to build your skills, and always prioritize safety—your future self (and trees!) will thank you.
- Next Step: Pick your cutter, review safety guidelines, and begin pruning like a pro!