
How To
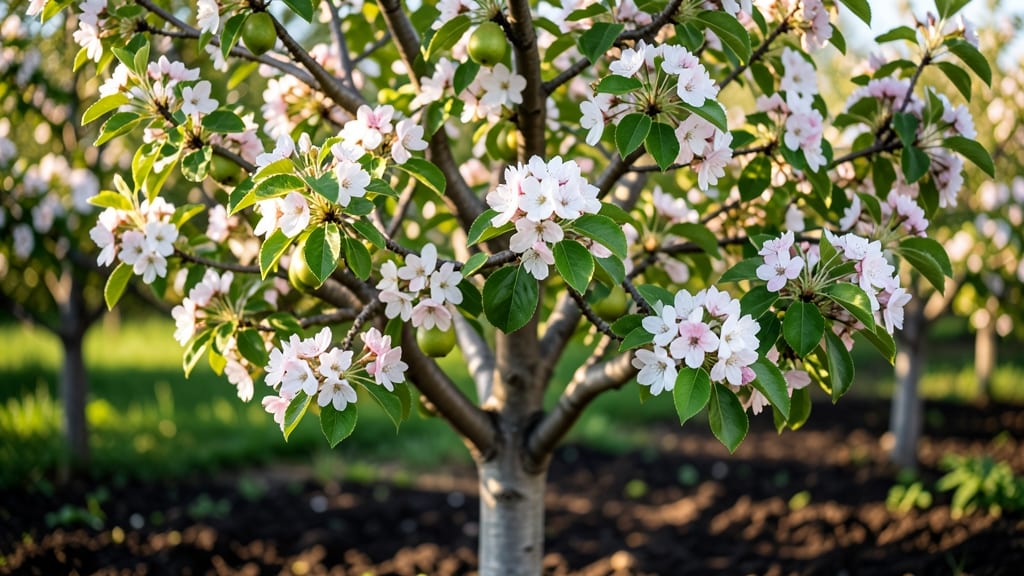
Transforming your 🍐 pear tree blossoms into a harvest of sweet fruit depends on understanding the critical stages between bloom and fruit set.
Picture this: your tree is covered in delicate white blossoms, but only a fraction will become pears. That’s because the journey from flower to fruit is delicate—one wrong move, and you could end up with empty branches instead of a heavy harvest.
In this guide, I’ll walk you through the exact timing, conditions, and care steps needed to turn those blossoms into juicy pears. Whether you’re dealing with pollination, thinning fruit, or preventing disease, these tips will help you maximize your yield.
From early spring blossoms to late-summer fruit, here’s what you need to know to ensure your pear tree thrives and produces abundantly.
The 5 key stages of pear tree blossom to fruit development
Understanding the pear tree blossom to fruit process is the difference between a tree full of empty blossoms and one heavy with ripe pears. Each stage requires specific conditions—from pollination timing to fruit maturation—and even small mistakes can lead to poor fruit set or disease.
I’ve grown pears for over a decade, and these five stages are where I focus my attention to guarantee a successful harvest.
If you’ve ever wondered why some blossoms fall off or why your pears stay small, the answer lies in these critical phases. Let’s break down what happens at each stage, the ideal conditions needed, and how to optimize care for maximum yield.
Whether you’re dealing with a young tree or a mature orchard, these insights will help you troubleshoot and thrive.
Blossom Emergence
Delicate white or pink flowers appear in early spring (March-April). Ensure full sun exposure and moderate temperatures (50-70°F) for optimal blooming.
Pollination & Fruit Set
Bees and wind transfer pollen (April-May). Cross-pollination (if needed) and stable weather (no frost or wind) are key to successful fruit set.
Cell Division & Rapid Growth
Fruitlets grow rapidly (May-June). Thin excess fruit to 6-8" apart to prevent overcrowding and improve size/quality.
Fruit Hardening & Color Change
Skin toughens (July-August). Ensure consistent watering and nutrient balance to avoid cracking or poor color development.
Maturation & Harvest Readiness
Fruit ripens (August-October). Check for color change, softness, and easy stem release before picking.
Stage 1—blossom emergence—is where it all begins. Your pear tree’s flowers typically appear in early spring, right after the last frost.
This is when you’ll see those stunning white or pink blossoms, but not all will turn into fruit. Cold nights below 40°F or heatwaves above 85°F can damage buds, so monitor your local forecast.
I always check the 10-day weather outlook to plan for any late frosts that might threaten my blossoms.
During this stage, focus on pruning dead branches and applying a balanced fertilizer (like 10-10-10) to support new growth. Avoid heavy pruning now—it can stress the tree and reduce flowering.
Instead, shape lightly to improve airflow, which helps prevent fungal diseases like powdery mildew. A quick spray of neem oil can also protect blossoms from pests.
Stage 2—pollination and fruit set—is where things get critical. Most pear varieties need cross-pollination from a different tree (even if it’s just 20 feet away). Bees are your best friends here, but if your area lacks pollinators, you might need to hand-pollinate with a small brush.
Once pollinated, tiny fruitlets form, but not all will survive. This is natural—your tree self-thins to prioritize the healthiest fruit.
Watch for blossom drop, where excess flowers fall off. While some drop is normal, excessive drop can signal poor pollination, disease, or environmental stress.
If you notice large numbers of blossoms falling before fruit sets, check for fire blight (blackened blossoms) or thrips (silver streaks on petals). A copper fungicide spray can help prevent fire blight if caught early.
Stage 3—cell division and rapid growth—is when fruitlets swell and grow rapidly. This is also the time for fruit thinning, one of the most important tasks for a heavy harvest. Thin fruit to 6-8 inches apart to ensure each pear gets enough nutrients and sunlight.
I use sterilized pruning shears to remove excess fruit, focusing on the smallest or weakest ones first. This step prevents overcrowding, which leads to small, misshapen pears.
During this stage, your tree will need consistent watering—
How to prevent common problems between blossom and fruit
When your 🍐 pear tree transitions from blossoms to fruit, it faces threats like fire blight, blossom end rot, and poor fruit set. These issues can turn your hopeful harvest into a disappointing loss.
The key to success lies in proactive care—knowing what to watch for and how to act fast.
Environmental stressors like heat waves, strong winds, or pest infestations can derail your tree’s progress. For example, late spring frosts can kill blossoms, while aphids sap energy needed for fruit development. Understanding these risks helps you protect your tree’s investment.
⚠️ callout warning ⚠️
Fire blight, caused by Erwinia amylovora, can destroy blossoms and fruit within days. Look for blackened, oozing cankers on branches or wilted, brown blossoms. Prune infected areas 6 inches below the damage with sterilized tools. Do NOT compost infected prunings—burn or bag them immediately.
✂️ Action Step:
- Prune in dry weather to prevent bacterial spread.
- Apply copper fungicide as a preventive spray every 2 weeks.
- Remove all infected fruit to protect next year’s blossoms.
To prevent blossom end rot, ensure your pear tree gets consistent moisture levels. This calcium deficiency often appears as brown, leathery spots on fruit. Mulch around the base to retain soil moisture and apply calcium nitrate (1 tbsp per gallon of water) every 4 weeks during fruit development.
Thinning fruit is another critical step. Overloaded branches can lead to small, misshapen pears or even branch breakage. Aim to leave 6–8 inches between fruits. Use sharp pruning shears to remove excess fruit at the stem, not the top, to avoid damaging the remaining fruit.
Pests like codling moths and pear psylla target developing fruit. Hang pheromone traps in early spring to monitor codling moth populations. For psylla, spray neem oil or insecticidal soap every 10 days during bloom. Always apply treatments before pests become visible.
Finally, protect your tree from environmental stress. Use tree wraps in winter to prevent sunscald and frost cracks. In summer, provide shade cloth during heat waves to reduce stress. Regularly check for signs of drought stress (wilting leaves, curled edges) and adjust watering accordingly.
With these targeted solutions, you’ll give your pear tree the best chance to go from blossoms to a bountiful harvest. Stay vigilant, and your tree will reward you with juicy, sweet pears year after year! 🌳